
Corel Photo Paint 7 has the option of creating a blank canvas called new. You choose the dimensions you want, then save. The next stage is laying down basic colors. Choose paint tool which is on the menu and a second menu will open with various tool possibilities as well as further controls once you have that tool. A good start would be just play around with those tools on the blank canvas-- narrow ones, splatter, watercolor, chalk and more.
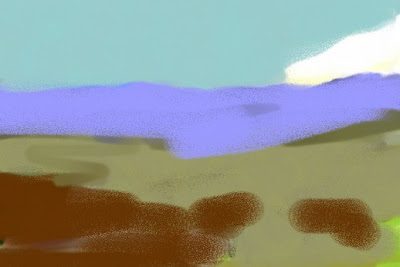
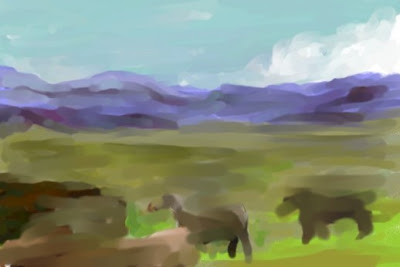
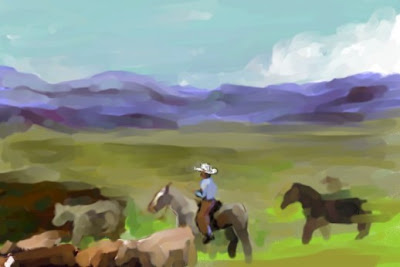
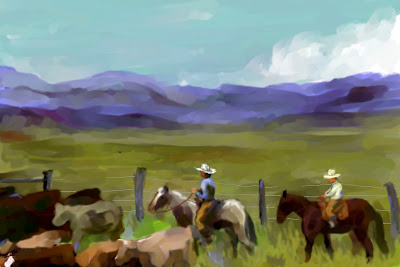
The following illustrates the process of taking one idea to a painting-- step by step. I have never painted this one in oils but sometimes all of this is just a preliminary sketch for doing that.
The first one was done with the crayon tool as it puts down a lot of color fast, then I began working with various watercolor tools and finally those shaped like pencils to further refine.
Sometimes the color you most want won't be on the palette; then you can go to another photograph, grab a small square, copy paste it somewhere in your painting and use the clone tool from the menu to bring that color where you need it. This, for me, is particularly true when it's flesh tones as the human skin is a complex subject all on its own.

No comments:
Post a Comment